
In-Canyon Rescue Practice: Risk Management & Leadership
Author: Becca Polglase
Contributors: Chelsea Heveran and Jake Huddleston
Editor: Sam Keller
Disclaimer: The content of this article is for educational and informational purposes only. Canyoning is an inherently challenging and dynamic activity with significant environmental hazards and risks. The rescue skills discussed require a high level of proficiency that can only be achieved through hands-on practice in a controlled, low-risk environment. This article is not a substitute for professional training. We strongly encourage all individuals to seek qualified instruction to learn and practice these skills safely before entering a canyon.
Canyons are dynamic and complex environments where a team’s success relies on their collective skills, experience, and decision-making. It is impossible to predict and train for every type of thing that could go wrong.
To effectively manage risk, individuals should train to proficiency on a short list of component skills used in most rescues, and then practice applying them in controlled situations in a real canyon environment.
A Recommended Training Progression
Before attempting in-canyon rescue practice, consider a training progression that sets your team up for a successful session.
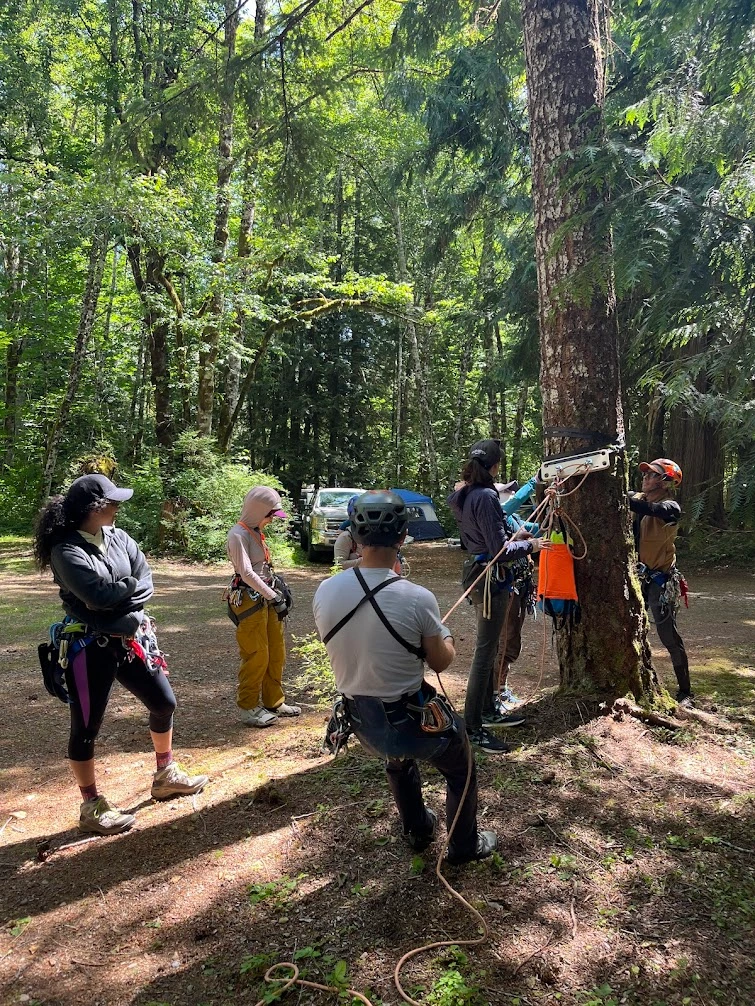
- Learn Skills in a Low-Risk Environment. When learning new skills, it’s important to reduce variables so you can have clarity in what you are learning. Do not try out something you saw on YouTube for the first time in a canyon.
- Train Foundational Skills to Proficiency. While a canyon environment often requires creative problem-solving, your solutions will be more efficient and effective if you are proficient in the component skills. Practice should focus on precision and efficiency. When you can move safely on rope in all directions and transition without thinking, you free up mental space to problem-solve. Under pressure, you will make critical errors, and rescues will not be textbook. By training to proficiency beforehand, you greatly enhance your ability to recognize and manage errors before they become catastrophic.
- Visualize Rescues During Regular Canyon Trips. While you are canyoning, imagine the simplest rescue scenarios at every rappel. You’ll see common errors and near misses, which provides real-life context that will help you prioritize the skills you most need to have dialed.
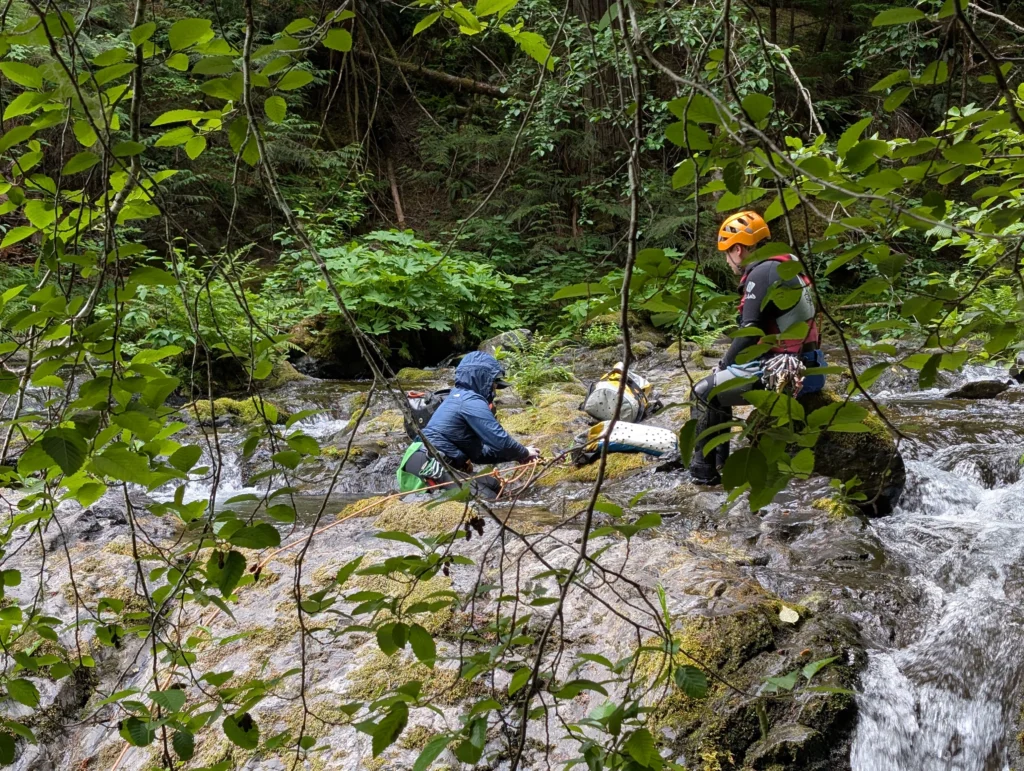
- Practice Core Skills in a Canyon Environment. Before inventing complex scenarios, start by simply executing your foundational skills in-canyon. You will find that skills you feel completely proficient in on practice terrain are surprisingly difficult in a real canyon. Get this practice in so you aren’t caught by surprise when it counts.
- Apply Scenarios in a Canyon Environment. Once you’ve practiced skills in-canyon and feel comfortable, begin to work with teammates on scenarios. Real rescues are scary, but practicing scenarios offers an opportunity to accelerate your experience in a controlled way.
Choosing Your Terrain: Low-Risk vs. High-Risk
Teaching and practice should ALWAYS be done in the lowest-risk terrain possible where you can still achieve your objectives. We need to create an environment where it is safe to make mistakes that might otherwise be catastrophic. This includes minimizing unnecessary objective hazards.
Lower Risk | Higher Risk |
Dry terrain / training wall | Real canyon / High flow / significant aquatic hazards |
“Urban,” with cell service | Remote, no service, >1 hr from definitive care |
Easy access / egress | Committed terrain |
Minimal vertical exposure | Challenging vertical terrain with high exposure |
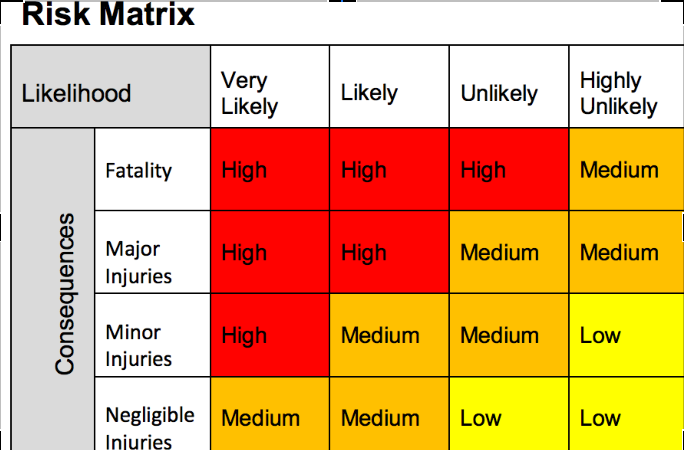
Planning the Practice Session
It is imperative to assume that mistakes will be made during practice. Advanced planning is necessary to manage risks and reduce the likelihood of catastrophic consequences.
Choose Terrain to Fit Your Objectives
Clearly state your objectives for the practice session and choose terrain that matches those goals while minimizing unnecessary risk.
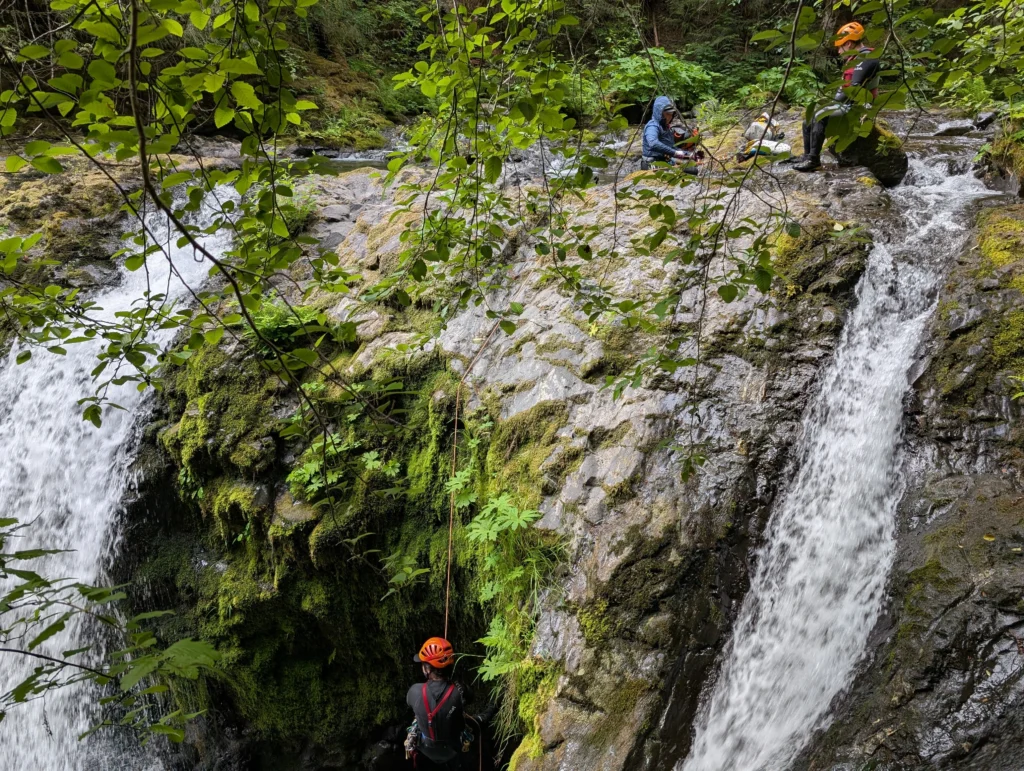
- For vertical rescues, you don’t need a lot of water. A moderate-low flow can be useful to obscure vision and interrupt communication, but there is no need for anything more.
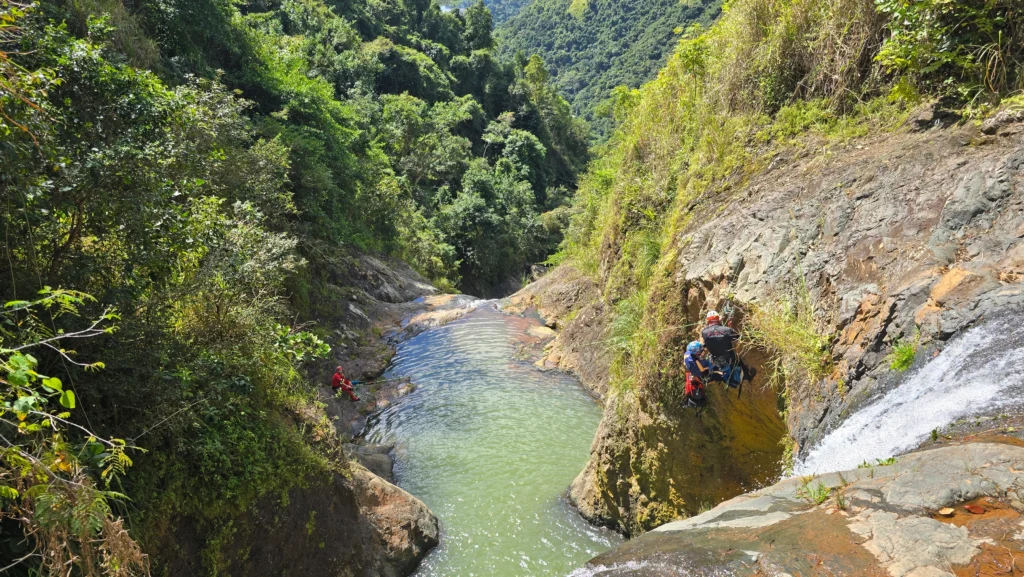
- For aquatic rescues in features like recirculating pools, you don’t need a lot of verticality. Choose the lowest-possible consequence aquatic features that still provide the right amount of challenge.
- Avoid practicing free-hanging rescues in-canyon. While noise and flow add intensity, they don’t change the fundamental steps of the rescue. Because these rescues are so high-risk, it is not recommended to practice them in a canyon unless there is a very specific reason.
Universal Principles for a Safe Practice Session
While every practice session is unique, a few universal principles are essential for managing risk. It’s critical to remember that advanced canyoners often make beginner mistakes when they are pushing the edge of their comfort or skillset. For this reason, every practice must be built on the following foundations.
1.) A Competent, Eyes-On Teammate with the Authority to Say STOP. At all times, at least one person who is proficient in the skill being practiced—and not engaged in the practice themselves—needs to be eyes-on, with the authority and expectation to STOP all activity if there is a safety concern. Ideally, all rigging should be checked by two sets of competent eyes.
2.) The Subject Has and Understands Their Agency in Their Own Safety. The person being “rescued” must have a way to exit the system or self-rescue if needed. This could mean ensuring the rope is long enough to reach the bottom of the pitch so they can self-evacuate , or ensuring the subject is prepared to self-rescue if a direct rescue attempt fails in water.
3.) Terrain Is Chosen for Minimum Necessary Risk. Practice should always be done in the lowest-risk terrain possible where you can still achieve your objectives. Choose a location based on the minimum technical challenge required , and eliminate or mitigate all unnecessary risks.
Applying the Principles: Real-Life Scenarios
Here is how these principles are applied in a few common practice scenarios:
Example 1: Converting a Static Block to Releasable
Risk Points: The primary risk is at the anchor, where a mistake could cause the rappeller to be dropped or create an unsolvable rope mess.
Safety Setup:
- A second proficient person must be watching the rigging at the anchor (Eyes-On Supervision).
- The rappeller should be locked off very close to the ground, reducing the risk of a catastrophic fall (Minimum Necessary Risk).
- The rope should be set all the way to the bottom so the rappeller can self-evacuate if needed (Subject Agency).
Example 2: Pick-Offs
Risk Points: A pick-off has multiple potential failure points at the anchor and at the harness connections, and the close proximity of the rescuer and subject makes evaluation difficult.
Safety Setup:
- Both the subject and the rescuer should be proficient in pick-offs and empowered to say STOP (Subject Agency).
- A proficient teammate should watch the anchor rigging (Eyes-On Supervision).
- Another proficient teammate (not involved in the rescue) should descend on a separate line to get the best possible view of the pick-off itself, with the authority to say STOP (Eyes-On Supervision).
- Practice Close to the Ground. A pick-off should be practiced just a few feet off the ground. This low-consequence setting allows the rescuer and subject to focus entirely on the complex technical steps without the serious risk of a long fall (Minimum Necessary Risk).
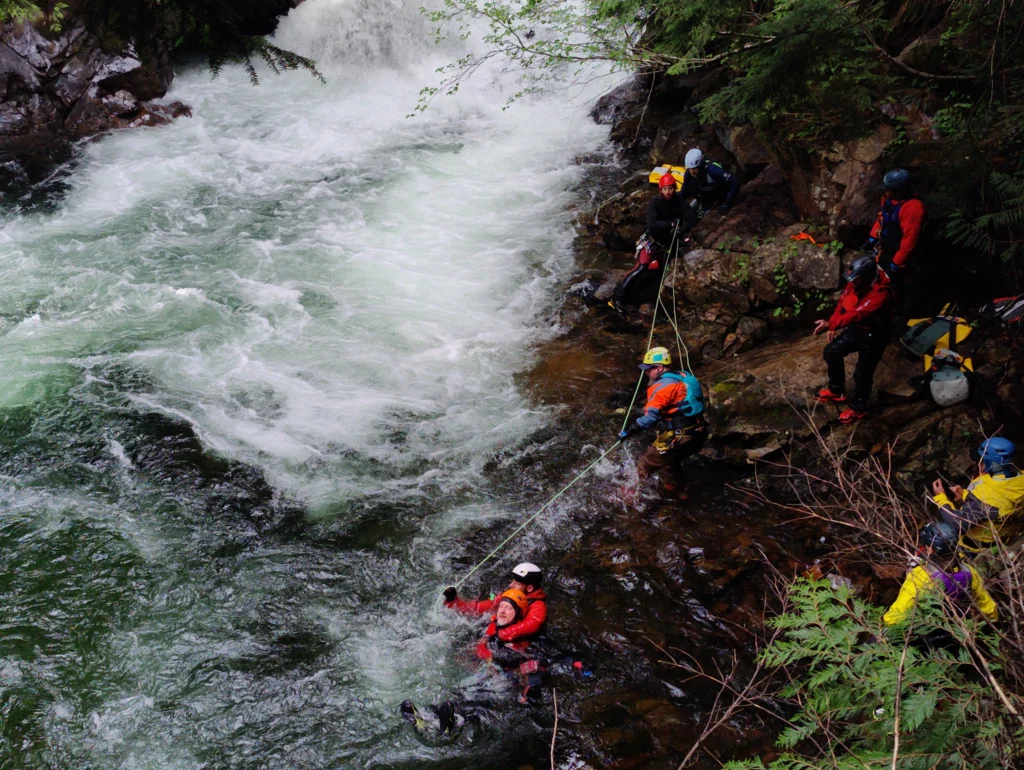
Example 3: Direct Rescue in Fast-Moving Water
Risk Points: Aquatic rescues are extremely dynamic, and water doesn’t pause for a practice session.
Safety Setup:
- Choose terrain with a forgiving runout where the water flushes into a safer area (Minimum Necessary Risk).
- The subject must be prepared to self-rescue if the direct rescue fails (Subject Agency).
- Position a teammate downstream who is eyes-on and ready with a throw rope as a backup (Eyes-On Supervision).
Running Effective Rescue Scenarios
While skills practice is about technical execution, scenarios are about teamwork. Most canyon rescue scenarios are 90% team management and decision-making and only 10% complex technical skill. The most effective rescues are often the simplest ones.
Guidelines for Scenarios:
- Master the Basics First: Your team should not be executing complex rescue skills for the first time in a canyon during a scenario. Don’t skip the “Practice Core Skills” step in the training progression.
- Keep it Simple: Craft simple, realistic scenarios and let them play out. Don’t change the rules mid-stream, as this causes frustration and distracts from learning.
- Manage Expectations: Let your team know that scenarios are a test of teamwork, communication, and decision-making, not just complex rigging.
- Provide an “Opt-Out”: Scenarios are high-stress. If a team member becomes mentally overloaded or physically drained, give them a way to opt-out. Anyone operating at less than 90% capacity introduces unnecessary risk.
Hold a Compassionate Debrief:
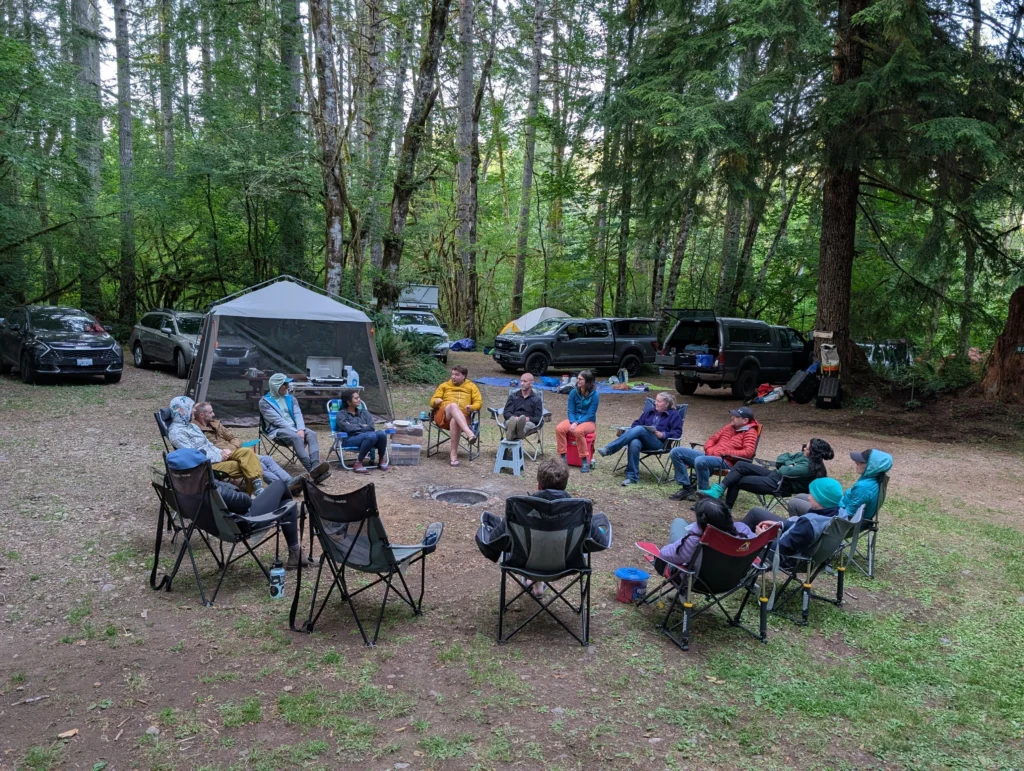
A debrief is essential for learning. The teammates in the “eyes-on” supervision role should lead it.
- Walk through what happened from each person’s perspective (not why).
- Discuss what went well and what didn’t.
- Acknowledge where luck played a role.
- End with a round of “Thank You’s”
Final Words
In-canyon rescue practice is invaluable, yet too few communities engage in it. It’s a lot of work to facilitate these sessions effectively, but the benefits are huge. Done well, they empower canyoners as leaders, offer incredible learning, and elevate the collective skill of our communities.
